When we think of decorating, we tend to think of our interior first– new curtains, scatters and accessories – however we tend to neglect our outdoors, which in most cases, is the first place people will see as they enter your home.
Decorating the garden is the “in thing” now especially with so many trendy ideas to revamp this space.
For your patio area (whether in the front or back yard), adding pots of beautiful colour will enhance the look of the space immediately. “Even though neutrals might be “in” when it comes to the interior of the home, the outside should be vibrant. Bright colours are the trend in the garden,” says Chantelle Granger, the Reservations Manager of Granny Mouse Country House & Spa and an avid gardener in her spare time.
Apart from gardening, she also enjoys DIY, with a lineup of crafty ideas sure to add pizazz to your garden.
In recent times, macramé has made a major come back. Macramé is the art of knotting string in patterns to make decorative pieces. Adding this type of craft into your patio and garden can make a major difference to a boring area.
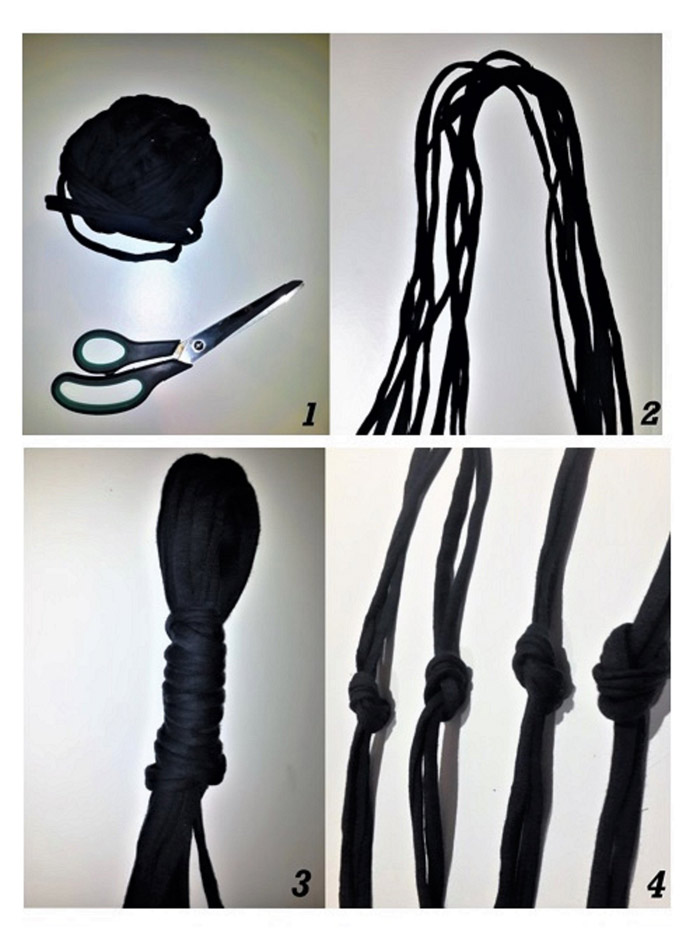
These steps should help you create your own macramé pot holder.
What you need:
- 8 pieces of 2m Yarn (or cut to the size you want depending on the hanging length)
- Scissors to cut the yarn
- Pot plant
- Screw in hook or wall bracket with hook
Method:
Cut the 8 pieces of 2m yarn.
Hold all the yarn in half and tie a knot at the top, leaving a small loop for hanging purposes. Tug on the yarn to ensure it is tight.
Screw or secure the hook or bracket to a wall where you want to hang it.
Hand your loop on the hook to make it easier to work with.
Take 2 strands next to each other and knot them. Do the same for the other stands, ensuring they are all the same length from the top.
Tighten them.
Then using 2 strands from the adjacent yarn, tie another knot and do the same for the rest (but ensure that this knot is slightly lower down).
Then, place your pot plant in the macramé and then adjust it to fit. Gather the rest of the yarn under the pot and tie another knot.
Hang in place and you are done!
Step by step images are below:


